

Painting cabinets is one of the easiest ways to update your kitchen. With just a few basic tools and supplies, you can transform the look of your space with minimal hassle and budgeting. So without further ado, here are 5 simple ways that you can paint kitchen cabinets in your home:
Contents
Step 1: Remove the doors
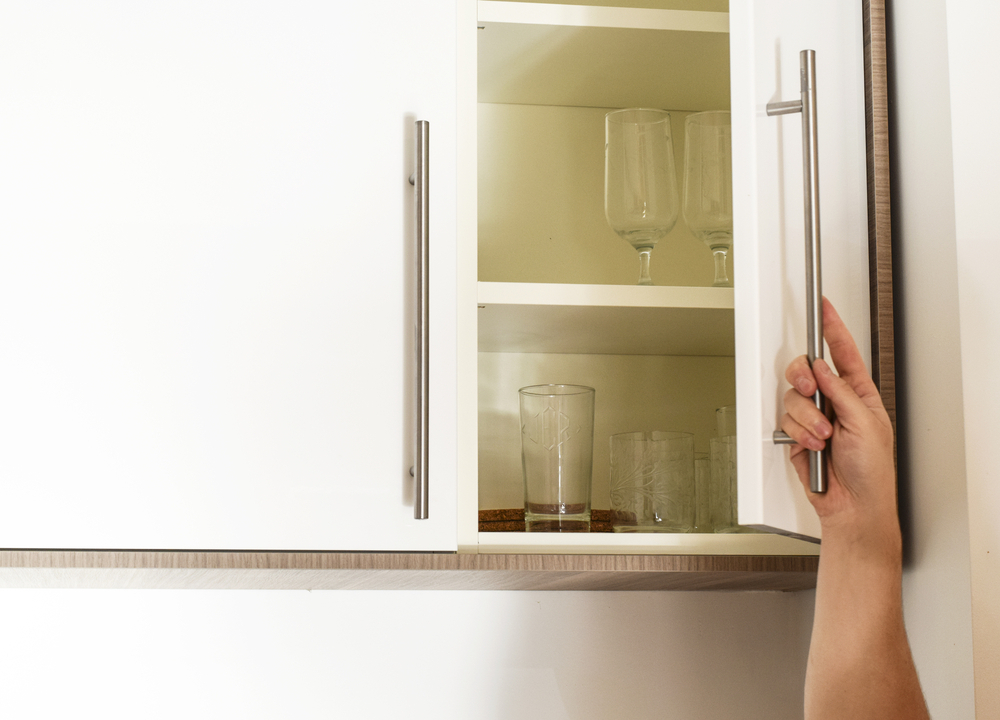
- Remove the handles and hinges.
- Mark, the door for alignment with a pencil or marker on both sides of your cabinet, ensuring they are perfectly lined up. This will help when you put the doors back on later!
- Remove one door at a time by unscrewing any screws holding it in place (you may need an extra hand for this step). Then, remove any nails or screws holding in place something like molding around your cabinets’ face frames or trim pieces; these can be replaced later if desired but not needed for painting purposes, so only take them out if they’re already loose enough that removing them won’t cause damage to your existing woodwork around where these items were attached originally.
Once you’ve removed the door, look at your cabinet’s inside. This is where you’ll notice whether or not the cabinet itself was painted already; if it wasn’t and there are no signs of stains or discoloration on the surface of your cabinets’ woodwork, then you can skip this step!
Step 2: Sand the cabinets
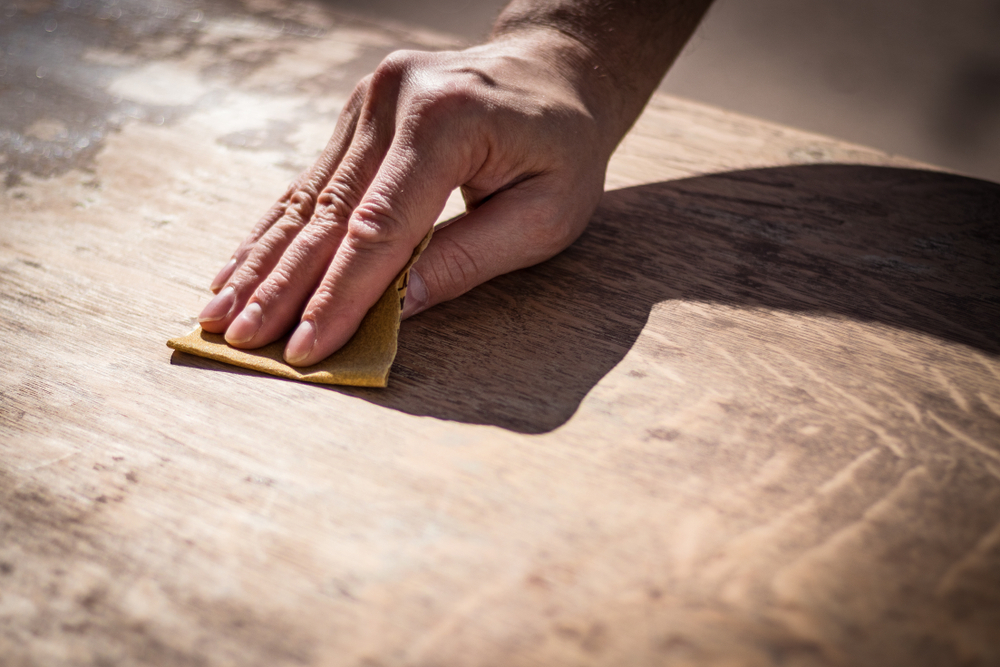
This step is simple. You’ll want to use fine-grit sandpaper (220 or 300 grit) on your cabinets, with a sanding block, to avoid damaging the surface of the cabinet doors. Sanding blocks are available at most home improvement stores, but if you still need one, feel free to use whatever works best for you!
Sand down each side of each door until they’re smooth and even.
Once all four sides have been sanded down until they’re smooth, wipe off any dust using a tack cloth–this will ensure that there isn’t any leftover debris from when we were working with our 220-grit paper earlier on in this process! If there is still some remaining dust after wiping everything down with this tack cloth, then go ahead and vacuum away any other particles as well 🙂
Step 3: Clean and dry the cabinets
You can use a damp cloth to clean them, but using a cleaner specifically for kitchen cabinets is better. This will help eliminate any grease or dirt accumulated over time. You should also make sure that your cabinets are completely dry before moving on with painting them!
If you have time before the paint dries, use sandpaper or steel wool (in small amounts) to remove any scratches on the surface of the woodwork; this will make them look much better when painted over.
Step 4: Apply a primer
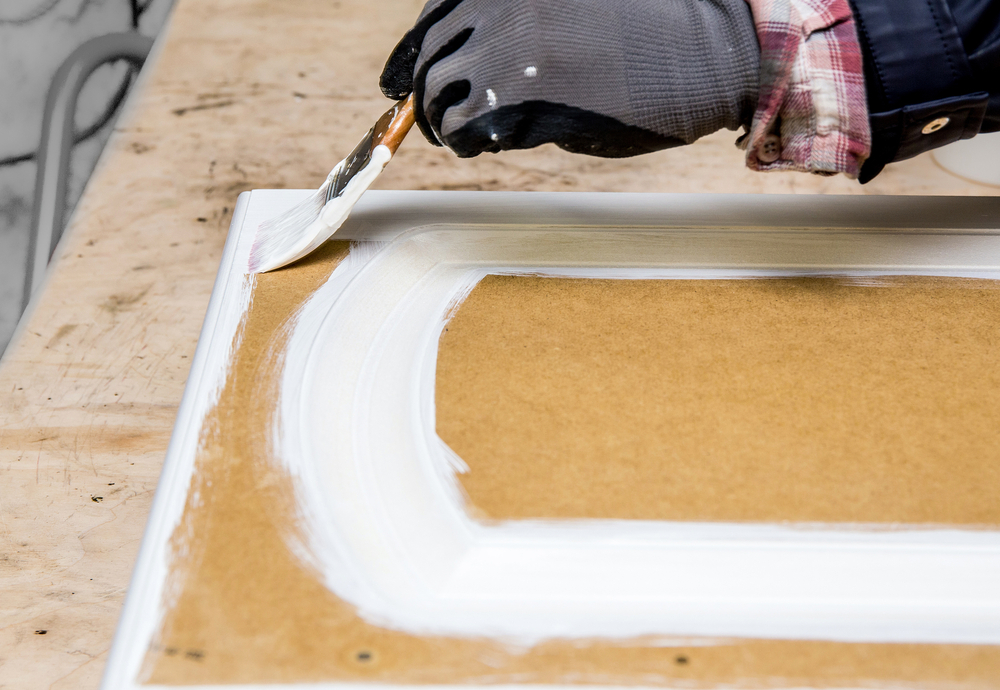
The next step is to prime your cabinets. This will help prevent any stains or blemishes from showing through the paint and cover up any imperfections in the wood that might otherwise be visible without a coat of primer first. This will help them hold paint better, as well as make sure that you get rid of any imperfections in the wood. Ensure you follow the manufacturer’s instructions for applying the primer; otherwise, it won’t work properly!
However, primer can be a little more expensive than regular interior paint (around $30 or so), so if you’re on a tight budget, you may want to skip this step for now or try using an old piece of cardboard as an alternative surface for applying the base coat instead of buying new materials just yet!
Step 5: Paint kitchen cabinets
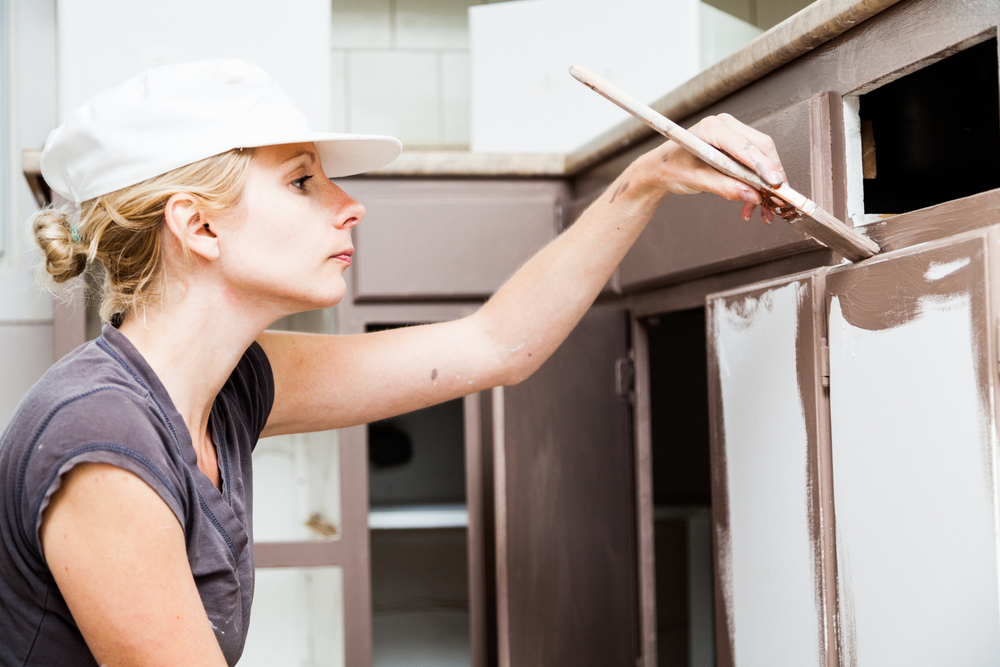
Once the cabinets are dry, paint the corners and edges with a brush. Then roll on a second coat of paint over the rest of the cabinets. When that’s done, use a small paintbrush to touch up any areas that need it–like missed spots or drips from your roller. If you have time before drying time is up (about three hours), go ahead and add another layer of topcoat for extra durability!
If you’re not a DIYer, hire someone to do the job. It will be worth every penny!
Best paint for kitchen cabinets
You can start painting as soon as the primer has dried. You can use any type of interior paint here, but we recommend something with a satin finish rather than gloss so that it doesn’t show every fingerprint on the surface.
If you have some leftover paint from another project or need to buy some new materials, get a high-quality type (we’d recommend Sherwin-Williams or Benjamin Moore) – cheap paints tend not to cover well and will leave brush strokes behind in addition to fading quickly.
Painting kitchen cabinets is easier than you think
- Kitchen cabinets can be painted with a roller or brush.
- A sprayer is another option but requires more time, care, and attention to detail because of overspray risk. If you’re going this route, we recommend using a Wagner Power Painter (the brand name for what’s known as an HVLP system). They’re expensive and require some setup before use–but they’re also incredibly smooth-flowing machines that make painting faster and easier than other methods.
- If you want to do the job yourself but don’t have the money or space to buy one of these $1K+ machines (or if they aren’t available in your area), consider finding someone else who has one, so they can help out with their expertise!
Conclusion
It’s easy to paint kitchen cabinets. Anyone can do it with some preparation and basic tools; following this step-by-step guide, you will have a beautiful new look for your kitchen in no time!
Unique Kitchen & Baths has over 20+ years of experience in home remodeling field with several hundred projects completed.
Don’t hesitate to visit our showroom If you’re looking for professionals to take care of more than just painting your kitchen cabinets and provide complete kitchen remodeling.
Resources:
https://www.architecturaldigest.com/story/how-to-paint-kitchen-cabinets
https://www.elledecor.com/home-remodeling-renovating/home-renovation/a40528807/how-to-paint-kitchen-cabinets/
https://www.familyhandyman.com/list/surprising-tips-for-painting-kitchen-cabinets/